


Google Tag Manager ID
To get your campaign setup on your wordpress site, we shall use a nifty plugin known as DuracellTomi’s Google Tag Manager for WordPress. It’s available on the WordPress plugin repo, meaning you can install it directly from your WordPress admin dashboard. That being said, let’s get down to work.
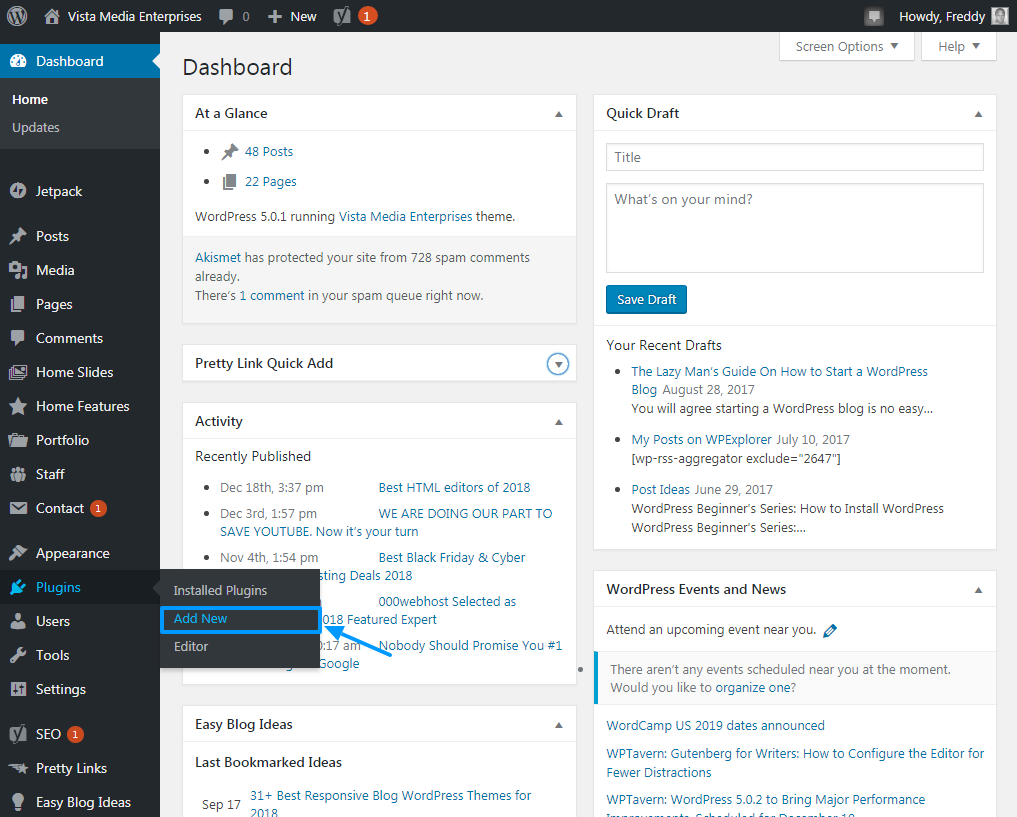
Navigate to Plugins > Add New on your WordPress admin menu.
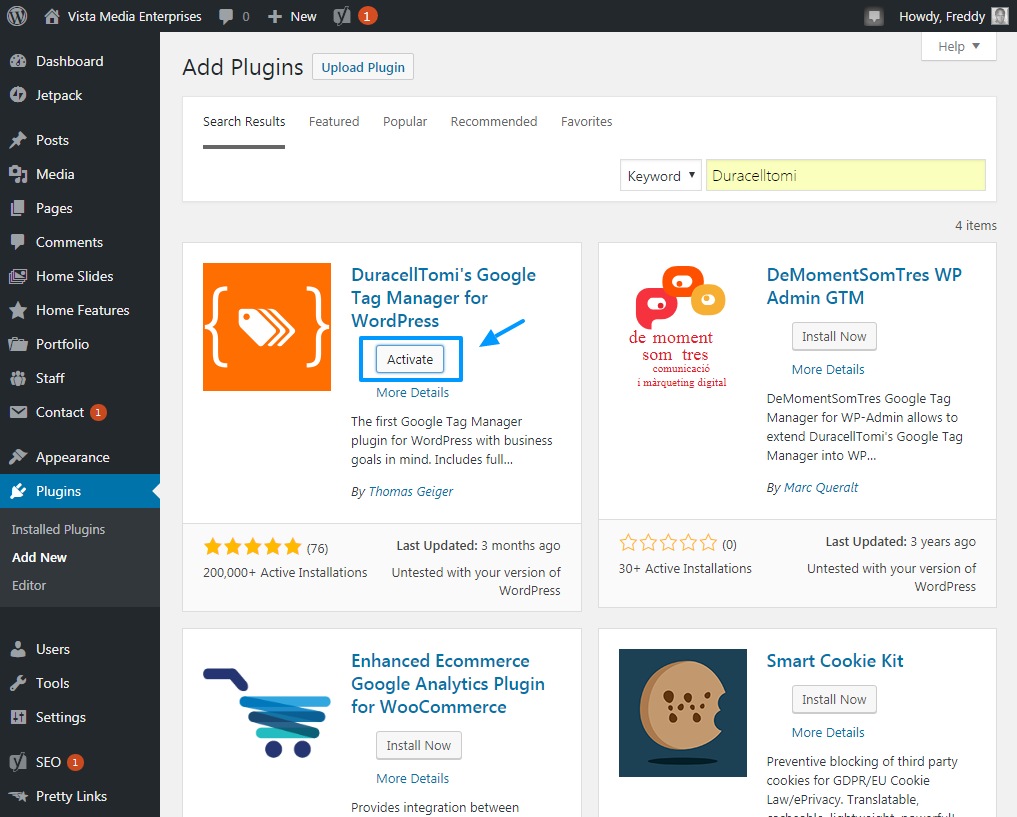
Enter DuracellTomi’s Google Tag Manager for WordPress in the search field, and once you find the plugin, hit the Install Now button.

Once you install the plugin, click the Activate button as shown below.
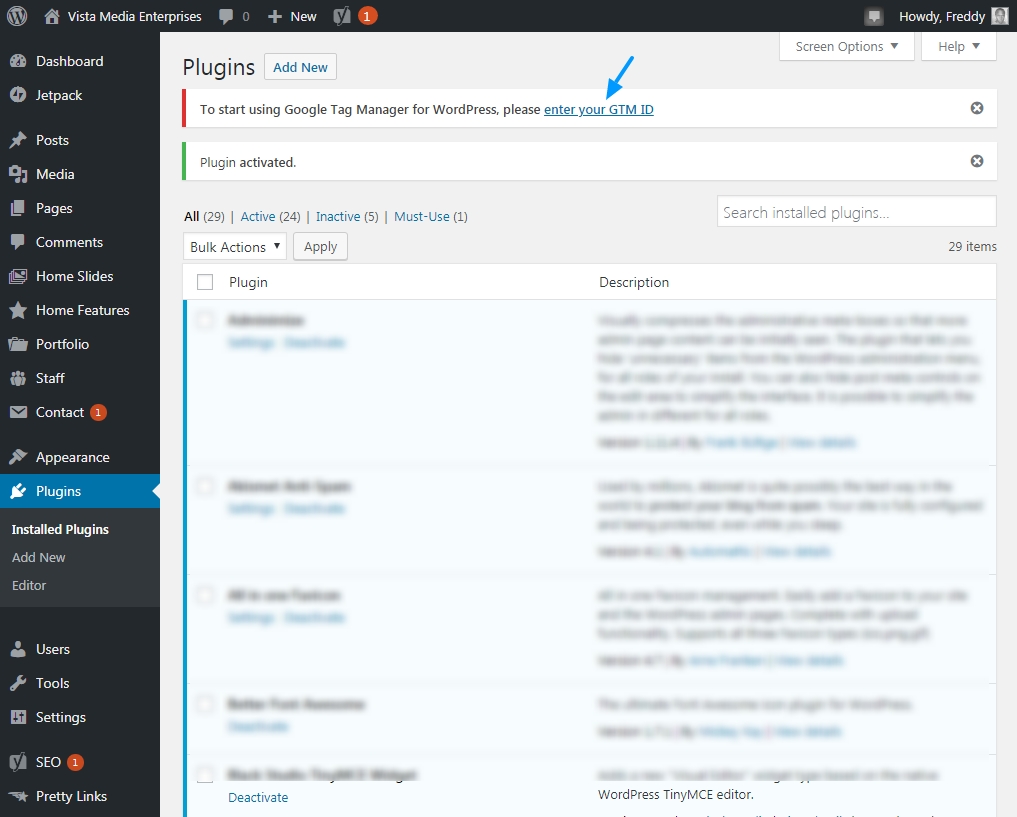
A notice at the top of your screen will inform you that you need to enter your GTM ID to start using Google Tag Manager for WordPress. Click the enter your GTM ID link as shown below.
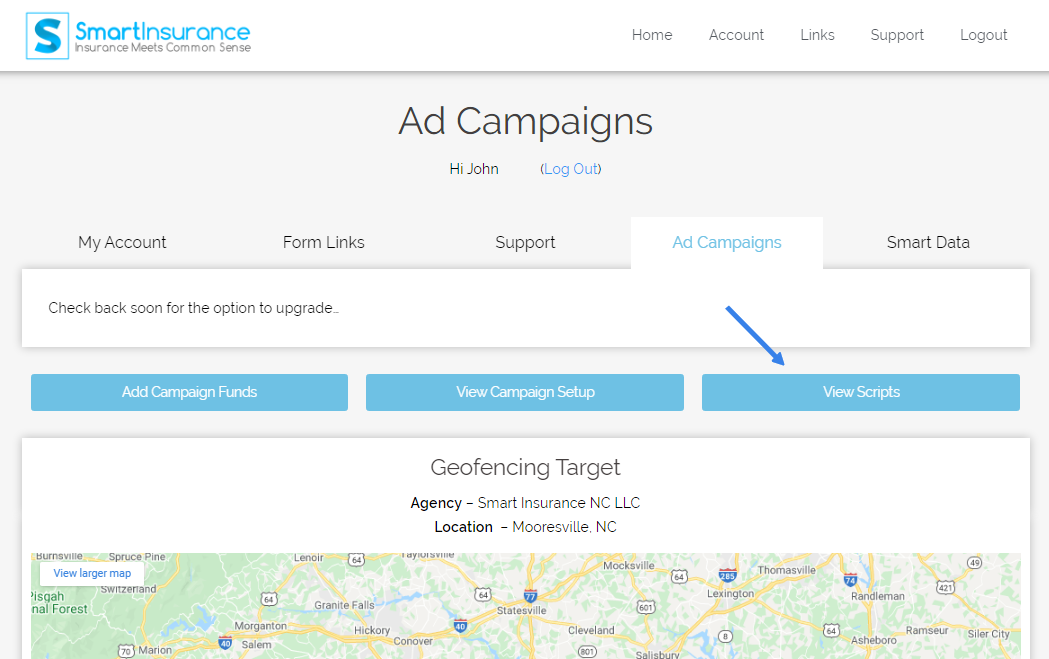
You can find your GTM ID at the top of this page, or on your Ad Campaign page. On your Ad Campaign page, click the View Scripts button like shown below.
Once clicked a window will open showing your GTM ID and Header and Footer scripts like shown below.
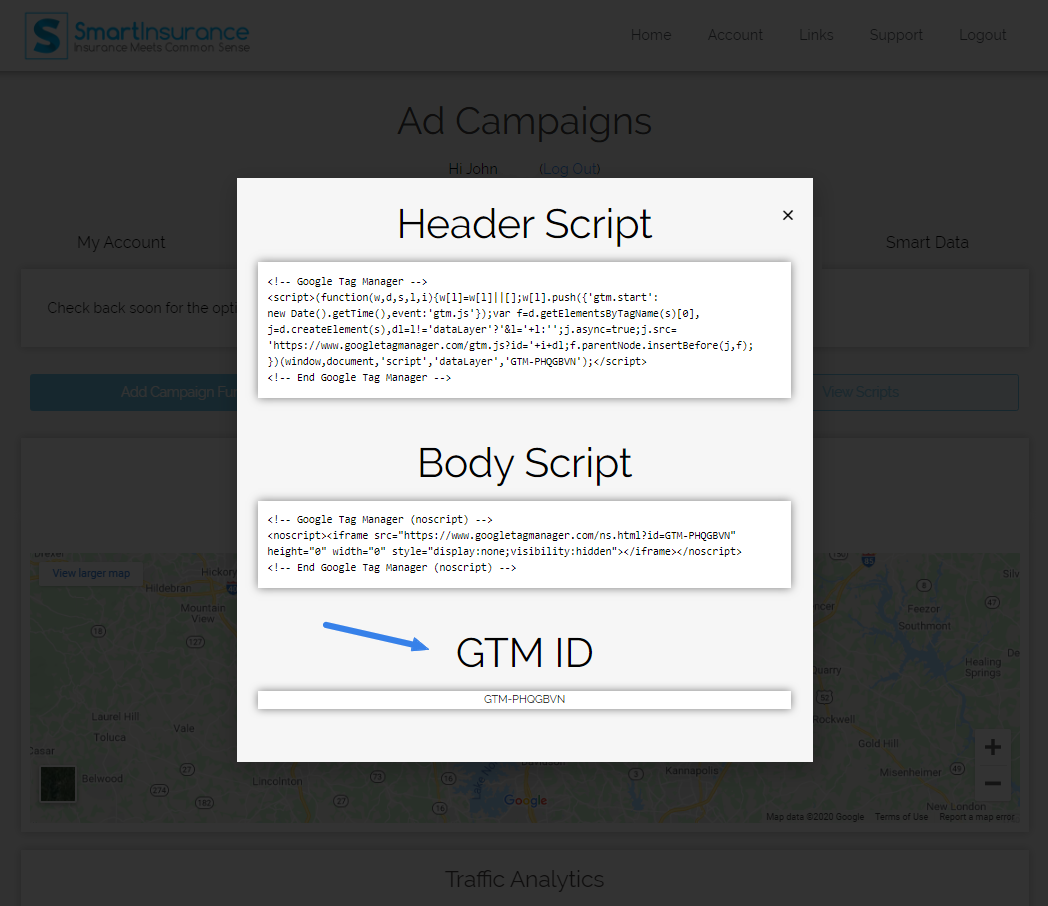
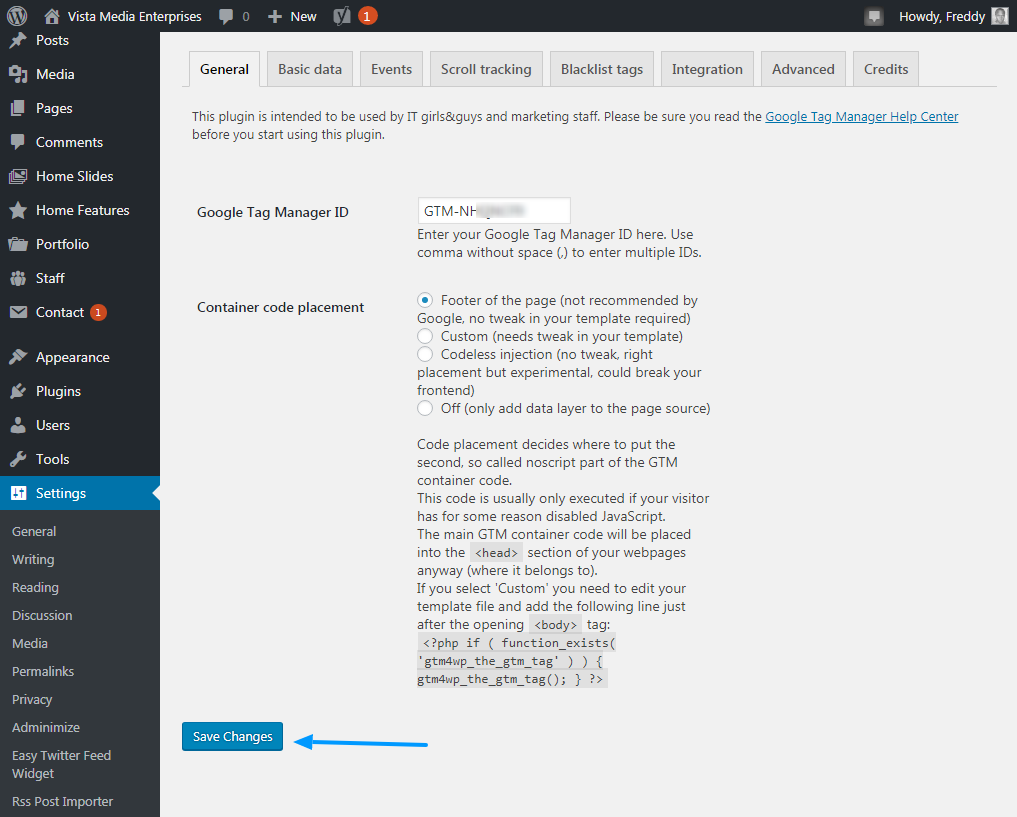
Copy the GTM ID and head back to your WordPress admin dashboard. Back on your WordPress site, paste the GTM ID, and hit the Save Changes button as shown below.
And that’s it! Your site is now connected to your campaign. Way to go buddy, way to go. You’re a quick study.
Below are two scripts (Header and Body). Each script allows your website to track users as they navigate around your site. The information allows us to confirm your campaign is functioning at peak performance. The name of each script points to the location where it should be added to your website. Follow the directions below to complete this process.
Important: For your code to work properly, it must be enclosed in 2 angle brackets, for example < your code here >. When copying each script, be sure to copy the entire section starting with the open angle bracket “<” and ending with the closed angle bracket “>”. Do not attempt to change any text, characters or formatting of either script.
Header Script
Body Script
Instructions
Directions
Note: Adding custom code, scripts or snippets is only available for sites with a connected domain.
- Log into your website’s dashboard.
- Go to Settings in your site’s dashboard.
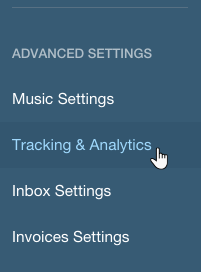
- Click the Tracking & Analytics tab under Advanced Settings.
- Click + New Tool and select Custom from the dropdown.
- Set up your custom code:
- Enter your custom code by copying and pasting the Header Script from this page. Do NOT copy the Body Script yet. You’ll add it separately when you come back to this step in step 7.
- Select the relevant domain.
Note: This option will appear only if you have multiple domains. - Enter a name for your custom code. (This can be whatever you’d like. Ex. Header Tracker)
- Add Code to Pages: Select which pages to add your code to:
- Choose All Pages: Click the dropdown to select the option:
- Load code on each new page.
- Choose All Pages: Click the dropdown to select the option:
- Place Code in: Select where the code snippet should be placed in your site’s code:
- Head
Note: This will be your selection when copying and pasting the Header script. - Body – end
Note: This will be your selection when copying and pasting the Body script.
- Head
- Click Apply.
- Repeat steps 4-6 again, except copy the Body Script this time in step 5.1 and choose Body – end on step 5.5.